Step-by-step installation of external blinds: what are the steps?
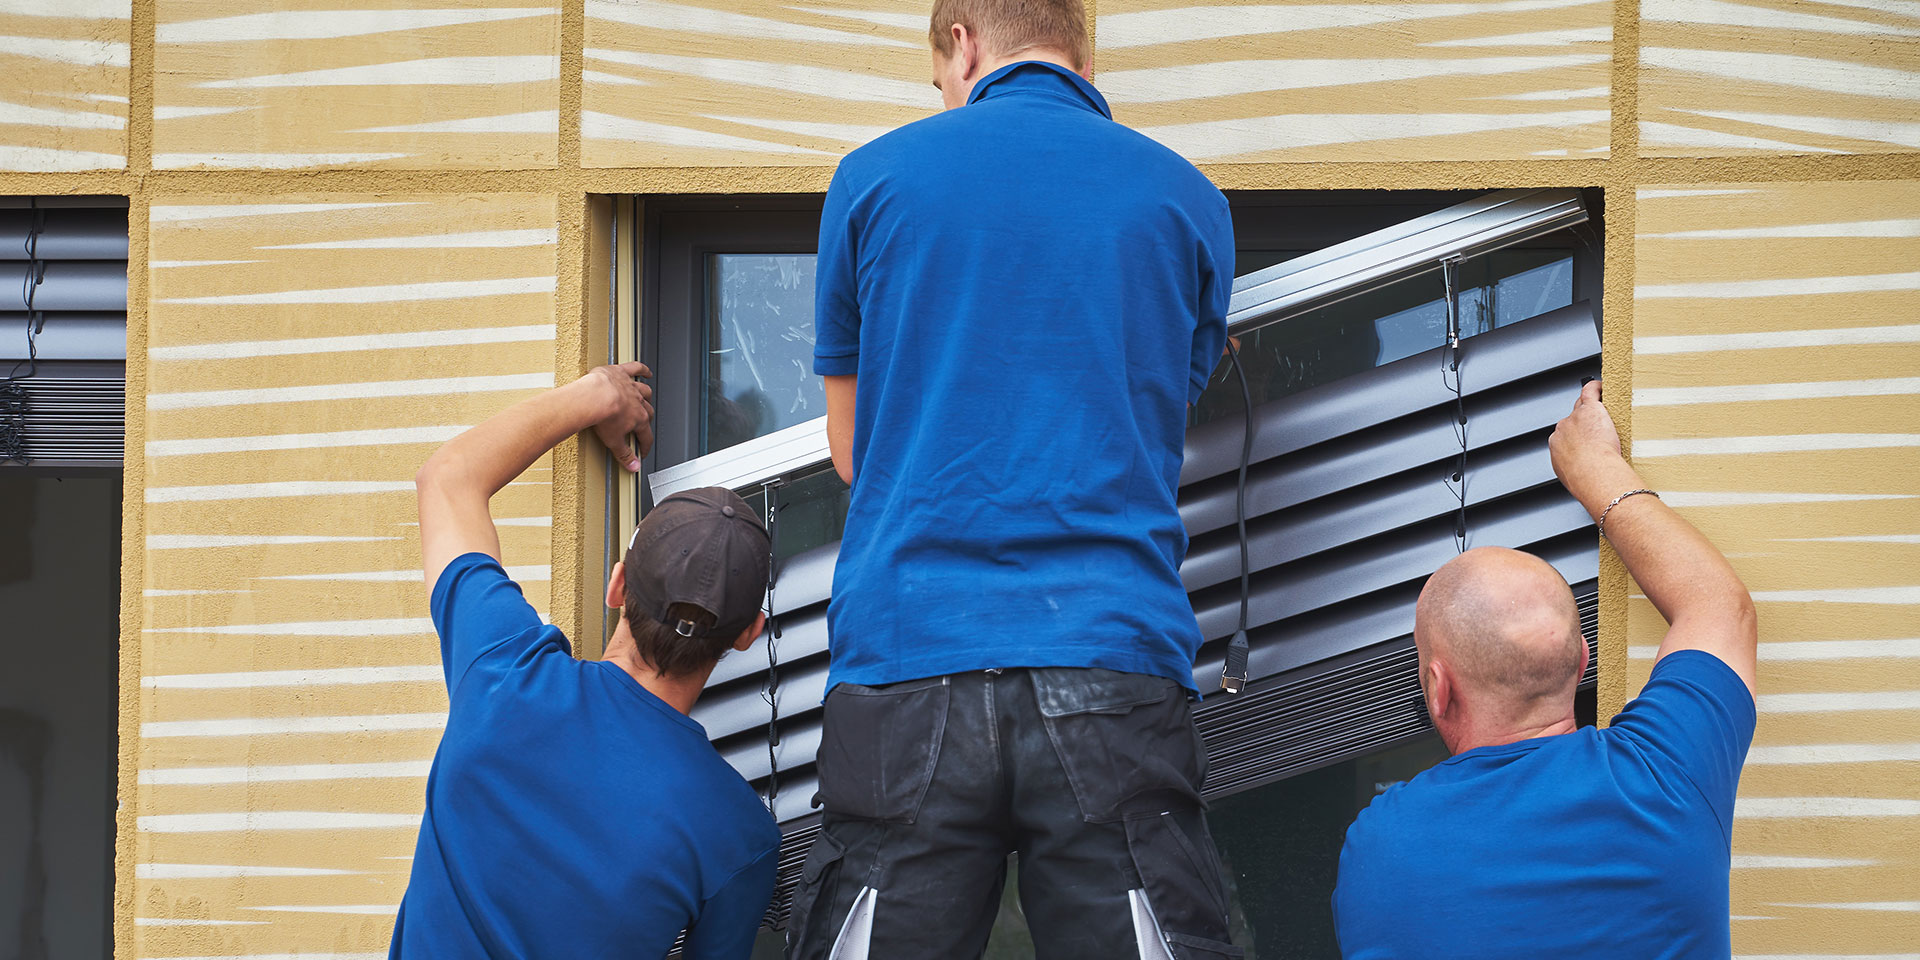
Installing external blinds is much more complicated than internal blinds and we always recommend that you involve an installation company. In order for you to get the correct picture about the installation and what you should expect after ordering the blinds, we will describe the most important steps.
The procedure depends on the installation method
External blinds can be installed:
- Into a case under the façade (under-façade installation),
- underneath cladding (visible installation),
- or frontal installation on the façade.
The under-façade installation, while the most technically difficult and time-consuming, is the one we recommend because both the case and the anchoring elements are elegantly hidden under the façade. There is however one catch to this type of installation: it cannot be performed as a modification. If you’re modifying a completed house, you’re stuck with installation underneath cladding or frontal installation.
Installation of blinds underneath the façade (under-façade installation)
It is best to consider external blinds as a part of the construction project so that the project engineer takes them into account and adapts the area above the windows and electrical wiring if necessary, as under-façade installation involves placing a case in the façade above the window (e.g., our ISO-KASTL), into which the blinds retract. Insufficient space above windows is the very reason why under-façade installation cannot typically be done as a modification.
“The external blinds alone require a minimum of 13 cm of depth above the window, even more if you are considering anti-insect screens. The required space increases further with the thickness of the case and heat insulation. Alas, trying it on a 10cm lintel is just never going to happen,“ points out the owner of StarDesign, Martin Stára.
“In case of our very own ISO-KASTL, we recommend 2 cm for heat insulation of the front side, with 1.5 cm being the thickness of the front cover wall, then 13 cm for the blind and 1.5 cm once more for the rear wall. That adds up to about 18 cm “adds Lukáš Musil, Sales Manager of NEVA.
The under-façade installation is then performed in four steps.
- In the first phase (when you have just a basic structure with no façade or mounted windows), the installation company measures the preparation for the blinds and verifies further construction details (window frame connection, brickwork and lintel straightness or heat insulation). Based on this, a case and U‑profiles are ordered for the guide rails or sandwich plates.
- In the second phase, the company mounts the under-façade case above the window opening and anchors U‑profiles or hidden guiding profiles. This assembly needs to be precise – for example, the case needs to be perfectly levelled by the installer, guiding rail U‑profiles must not converge, diverge or be misaligned. The construction company then insulates the house and finalizes the façade.
- As soon as the façade is completed, the installation company shows up to carry out the final measurements. This step is critical because external blinds need to be measured with absolute precision. Experienced installers know, for example, that a blind must end at least 2 cm above the window sill, because it sags over time and must not end up freezing to the sill. The measurement tolerance is very low, e.g., a mere 2 mm for blind width.
In the last step, the installers arrive at the construction site to install the blinds into the prepared cases and anchor the guiding rails into the U‑profiles, as well as connecting the motor to the prepared electrical cables and checking the end position of the blinds. In the final step, they check the operation of the blind and set up remote control programming.
At NEVA, we also offer under-façade installation based on the STF2 self-supporting system, where the blinds are connected with the case, the U‑profile and guiding rails into one piece. In that case, the installation is faster – the blind is measured and mounted onto the window frame; the façade is added afterwards.
Another option is presented by our STL self-supporting system, which does not include a case and relies on you to have your own box prepared at the construction site. This system has visible guiding rails and is popular especially in Switzerland and other German-speaking countries.
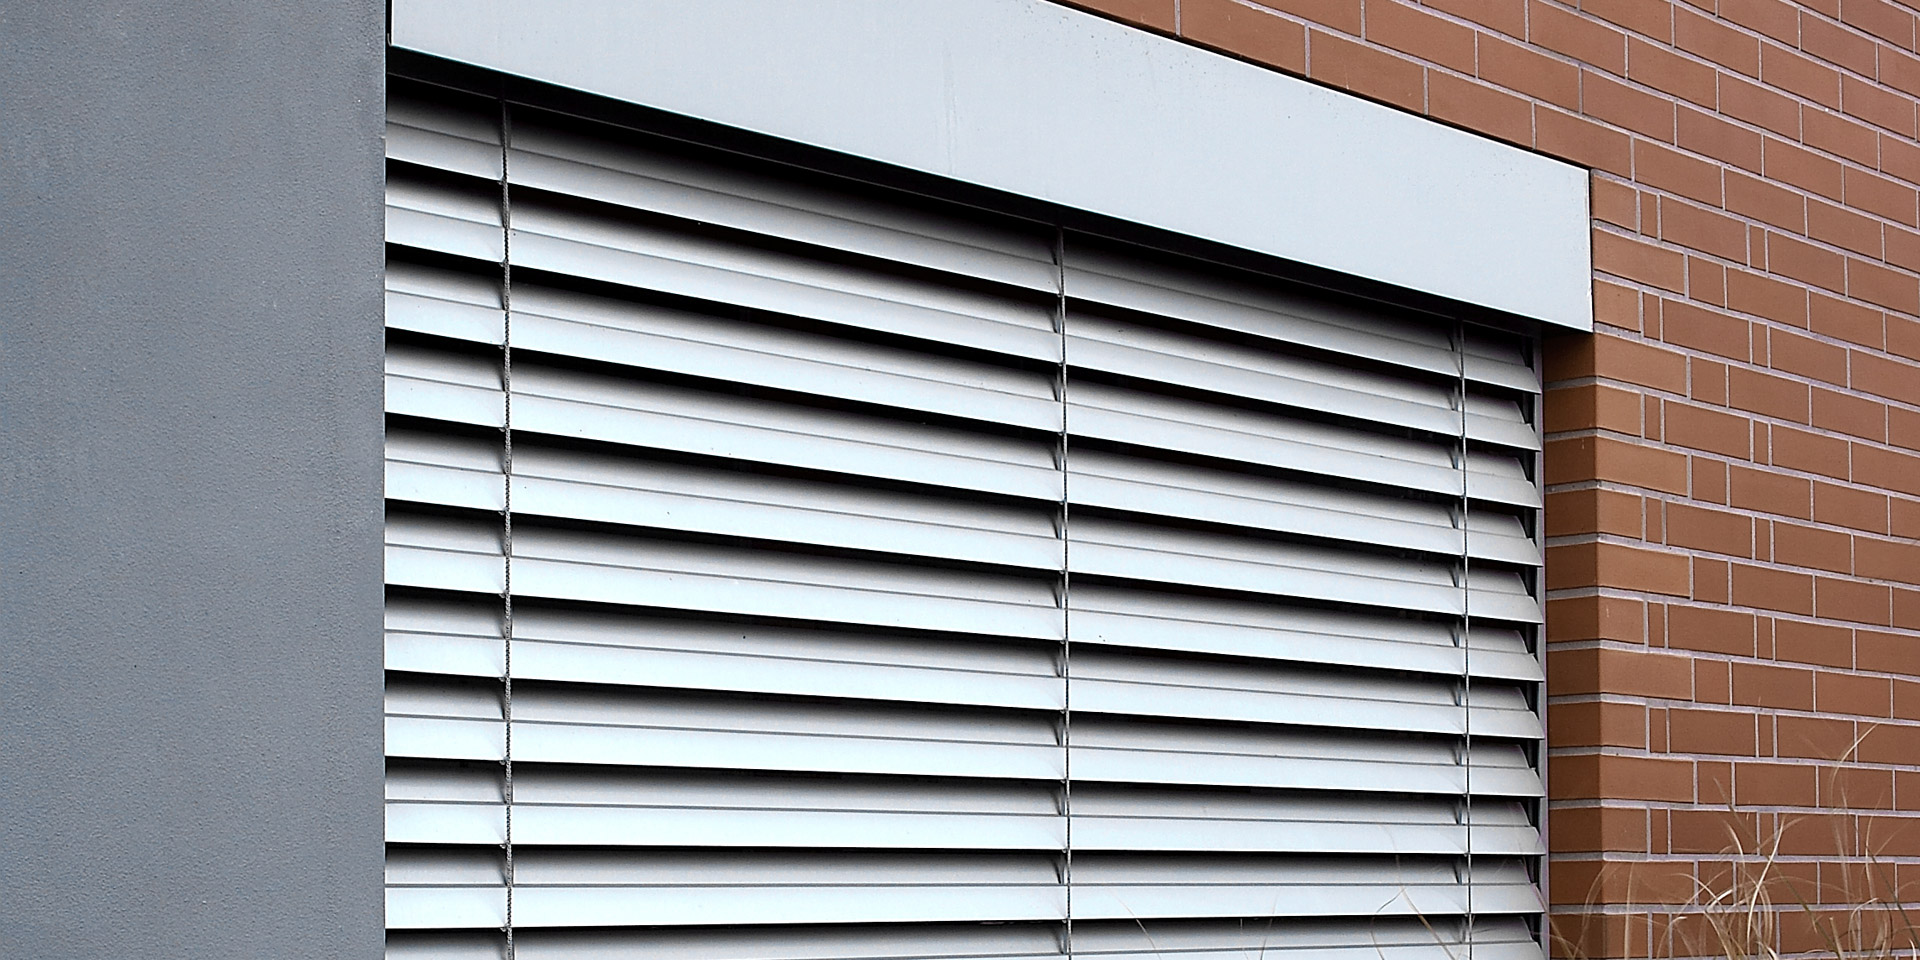
Blind installation underneath cladding (visible installation)
Visible installation of external blinds underneath cladding is suitable when modifying a completed building.
In these cases, the blinds do not retract into an under-façade case, but rather underneath the lintel cladding. The cladding is installed into the window opening and fixed onto holders anchored to the window or lintel. Due to the cladding being within the window opening, it slightly compromises the full height of the window.
“Similar to under-façade installation, the cladding also needs to be at least 13 cm deep. It is usually installed flush with the façade. Sometimes, however, the window opening may not be deep enough and makes the cladding protrude over the façade a little bit,” notes Martin Stára.
The advantage of visible installation is its speed; everything is done in just two steps.
- In the first step, the installer measures the construction opening, checks its straightness and consults you on how you want the guiding rails done. The rails can be installed onto the frame of the window using a holder or into the brickwork. The brickwork option may be problematic if the brickwork is uneven or too insulated with not enough space for the holders, which is why it is sometimes not an option.
- In the second step, the installer measures and anchors the upper profile holders, mounts the cladding and attaches it to the holders. Afterwards, they mount the blind into the holders, install the guiding rails and connect the blinds’ motor, and check the blinds, including their end position. In case of crank controls, they also make a grommet hole in the window.
For these types of installation, NEVA also offers the STF1 self-supporting system, which includes blinds, guiding rails and the cladding all in one piece. This allows the blinds to be installed onto the window as a preliminary step and then simply mounted as a unit, which comes in handy, e.g., when re-building a house and changing the windows.
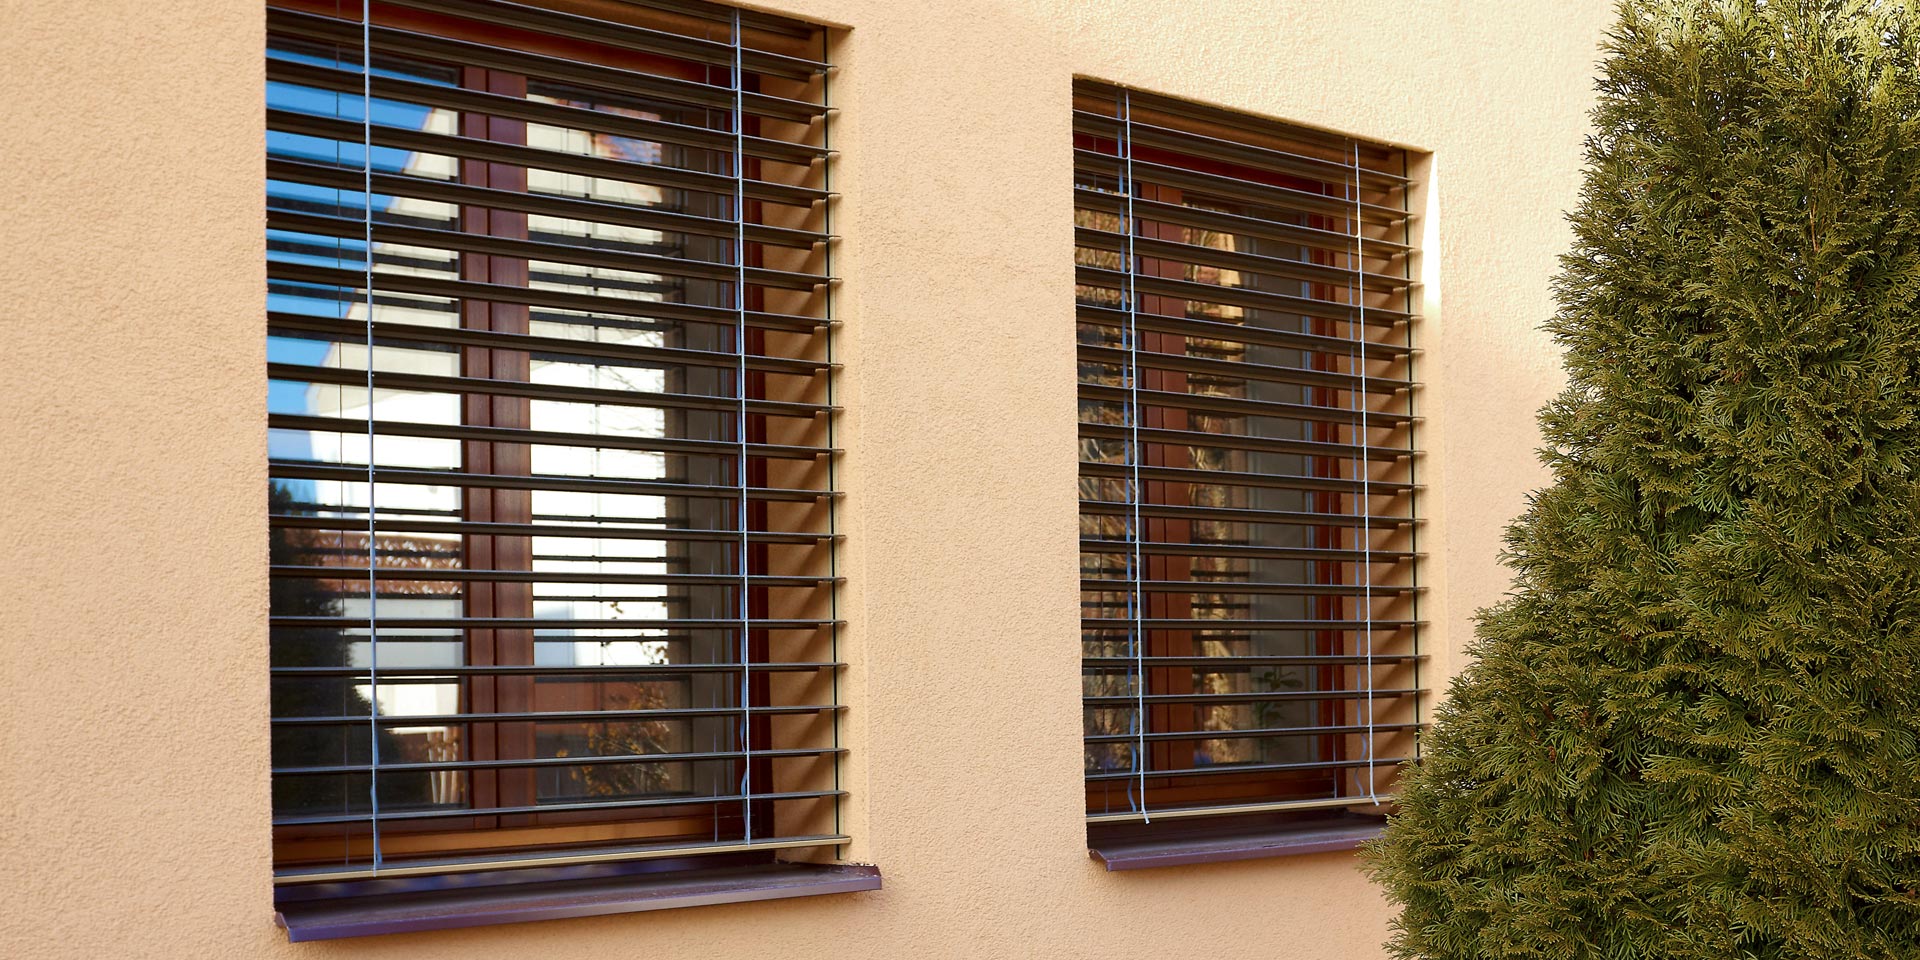
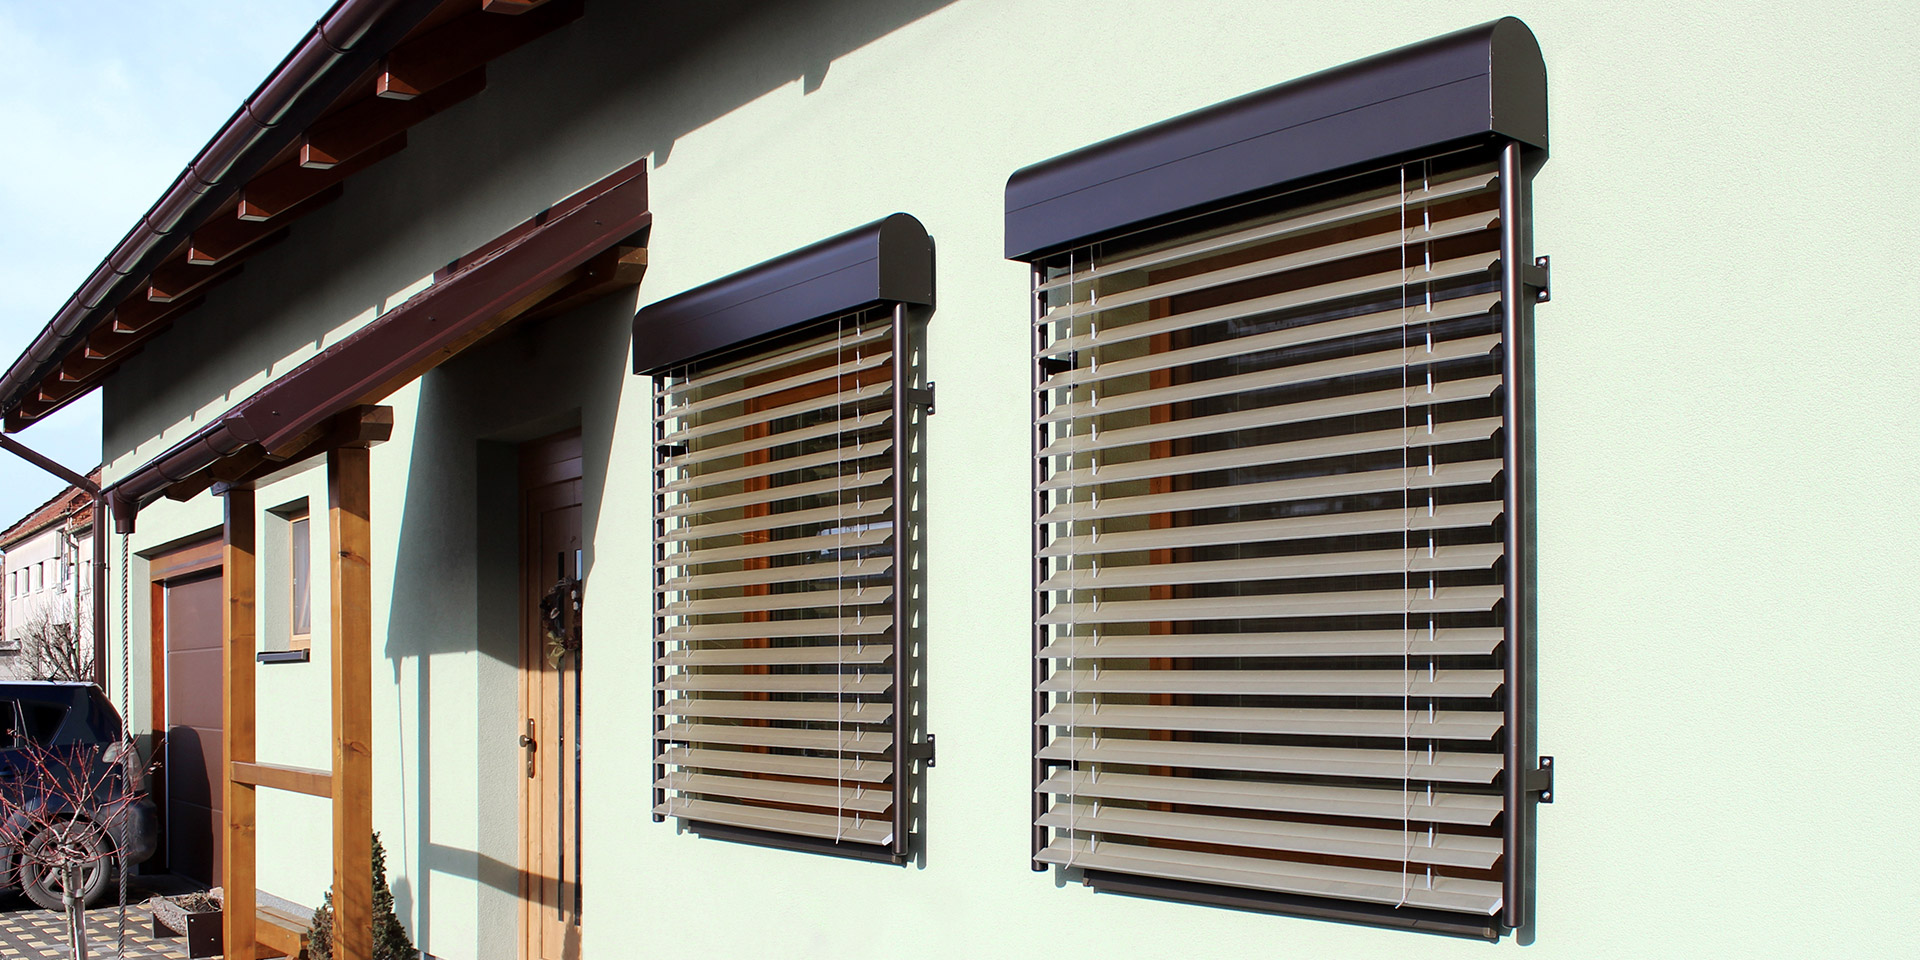
Frontal façade installation
In case you don’t want to reduce the windows’ full height or cannot / don’t want to interfere with the window frames, there is yet another option – the installation of external blinds in front of the window opening, i.e., frontal façade installation. This means the blinds visibly protrude from the façade.
With this installation method, the blinds retract into a prepared case, which is above the window opening. The bearing brackets or guiding profiles are anchored frontally onto the façade.
The disadvantages and risks of this installation method come with the anchoring. Due to the weight of the blinds, the anchoring must always be done into a wall (or at least onto supporting parts connected to the wall). In cases where there are thick insulation layers, anchors for breaking thermal bridges are used.
The assembly itself is then performed in two steps.
- In the first step, the installer measures the window and chooses the optimal anchoring method.
- In the second step, they install the holders, mount guiding rails and cladding and attach the blinds. In this case, the weight of the blinds is carried by the guiding rails.
At NEVA, we have created our own façade system for frontal façade installation, in which the blinds are delivered as a unit with a squared box and guides.
As far as a skilled handyman would probably be able to install the external blinds by themselves, we do not recommend that you do it yourself. It is an unnecessary risk and voids the warranty; moreover, the most complaints (in our experience) are actually due to unprofessional installation.
We would therefore recommend you select from the list of our partners and order external blinds including professional installation.