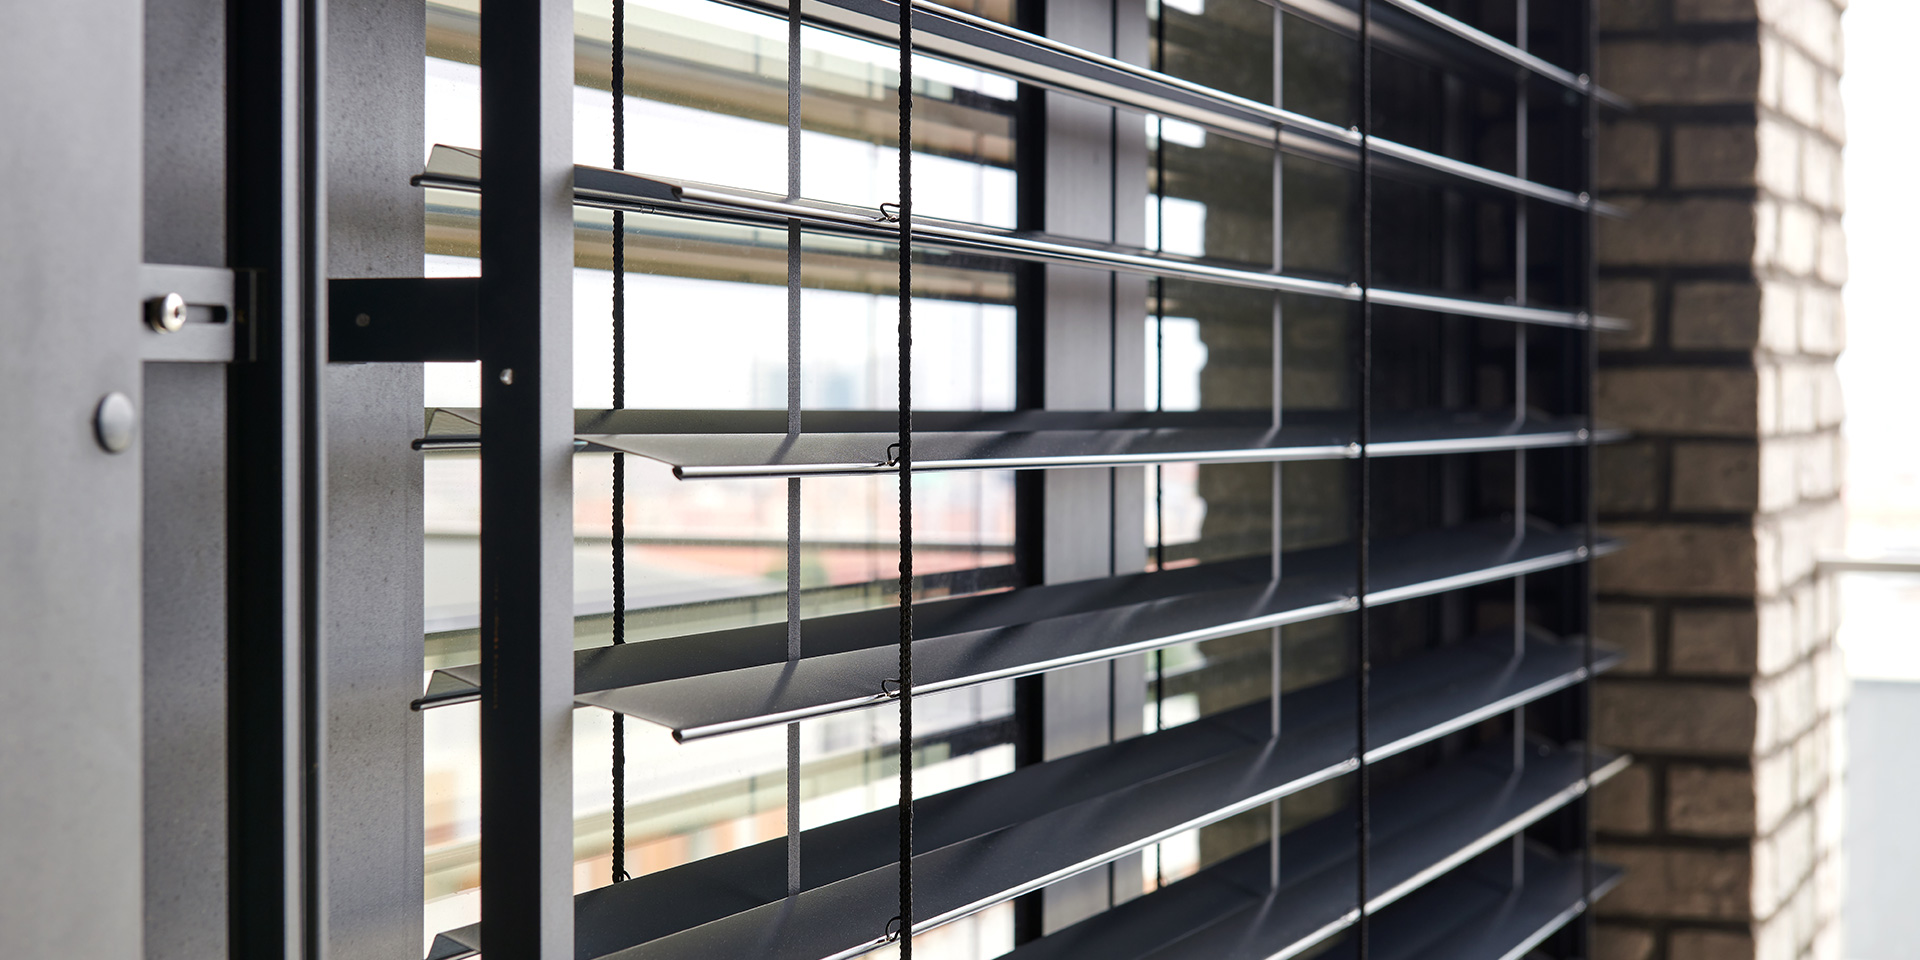
Advice from installer: external shading electrical installation
In a new building, the cables to the windows are run together with the others directly from the switchboard. In renovations, the cable to the blinds can be run from a socket near the window. Our installation partner Jan Musil from Žaluzie MANS will tell us about the electrical installation process and what to look out for.
In this article, we largely focus on the electrical installation of external blinds. We summarize the differences between the wiring of blinds and screen roller shutters in the conclusion.
The way the motor is controlled is crucial for the wiring
There are three basic types of motor wiring in terms of preparation:
- “Conventional motor” controlled by a button on the wall. The motor has its own cable with two wires (blue “phase wire” and yellow-green “ground wire”) and 2‑phase cores. When one half of the button is pressed and held, current flows into one core, the motor turns upwards and pulls the blind. The other half of the button lets current into the other core and turns the motor in the opposite direction. That’s all the motor can do.
- “Conventional motor” with relay. Thanks to the relay, there is no need to hold the button the whole time until the roller blinds are in the end position. Simply hold the button for about 2 seconds and the motor will drive the blind to the end position. Thanks to the relay, you can also connect sensors and central controls to the motor. You can get a relay for a basic motor for an extra cost comparable to that of a “smart motor”.
- “Smart motor” for remote control. It’s even easier to prepare for wiring, because you don’t have to prepare the boxes for the buttons or the buttons themselves at all. The cable is run through straight into the motor. It also provides greater user convenience because you can control it with a remote from anywhere, with your phone, or with preset modes within a smart home. Beforehand, you have to be aware that manufacturers supply them with their own remote control buttons, which are often designer-made and won’t combine with other switches (from a light, for example) in the box.
“For the first and third options, you can use the same supply cable as for the lights – CYKY 3C × 1.5. Only if you want to add sensors to the external blinds connected to a conventional motor and feed them from the switchboard for the buttons do you have to go for a 5C × 1.5 cable,” says Jan Musil.
Running cables from the power supply to the window
So that you don’t have to run a cable from the switchboard to each window, you can create junctions and run electricity from one source to all the blinds.
If you have a “conventional” motor, the button automatically becomes a junction. The KPR 68 box (with extended depth) is ideal for hole sawing. If you are renovating and do not want to chisel into the wall, you can use a wall-mount box on the plaster. With “smart” motors without buttons, the junctions are created only at the blind.
From the junctions, or buttons, you run the cable further to the motor. In this connection, you need to replace the CYKY 3C × 1.5 cable with CYSY 4C × 0.75 soft cable.
It doesn’t matter which way the supply cable to the motor runs, it depends on the electrician and the possibilities of the building.
- In the case of new buildings, either run cables through channels to each window or run the wires from the switchboard to the exterior and then on the masonry under the insulation – this neatly avoids chiselling.
- When retrofitting in a finished building, you don’t have to dig up the whole house for the external blind motors. You can take power from the nearest socket – ideally the one closest to the window. If you want to operate the blinds with a button by the door, the power would have to run from the socket to the button first, loop there and go back to the motor. To make it easier, buttons for blinds are sometimes placed right next to the window.
“When retrofitting, you can either chisel channels for the cables in the plaster – but this requires masonry work and subsequent painting over the channels. The second and quicker option is wall-mount strips. If you’re running electricity from a socket by the window, the strip can often be hidden behind the curtain,” Musil points out.
You have power by the window – and how do you get it out to the motor?
- You drill through the window frame – the principle is the same as for crank-controlled blinds. A small hole is drilled through which the wiring is pulled.
- Pull the cable through the window lining – a hole is drilled from the outside (ideally in the top 5 cm of the lining) and the cable is pulled through. From there it is run to a power supply, such as a socket. A more laborious but nicer option is to pass it through the inner lining, where the cable is pushed next to the window frame.
What to look out for when doing installation work
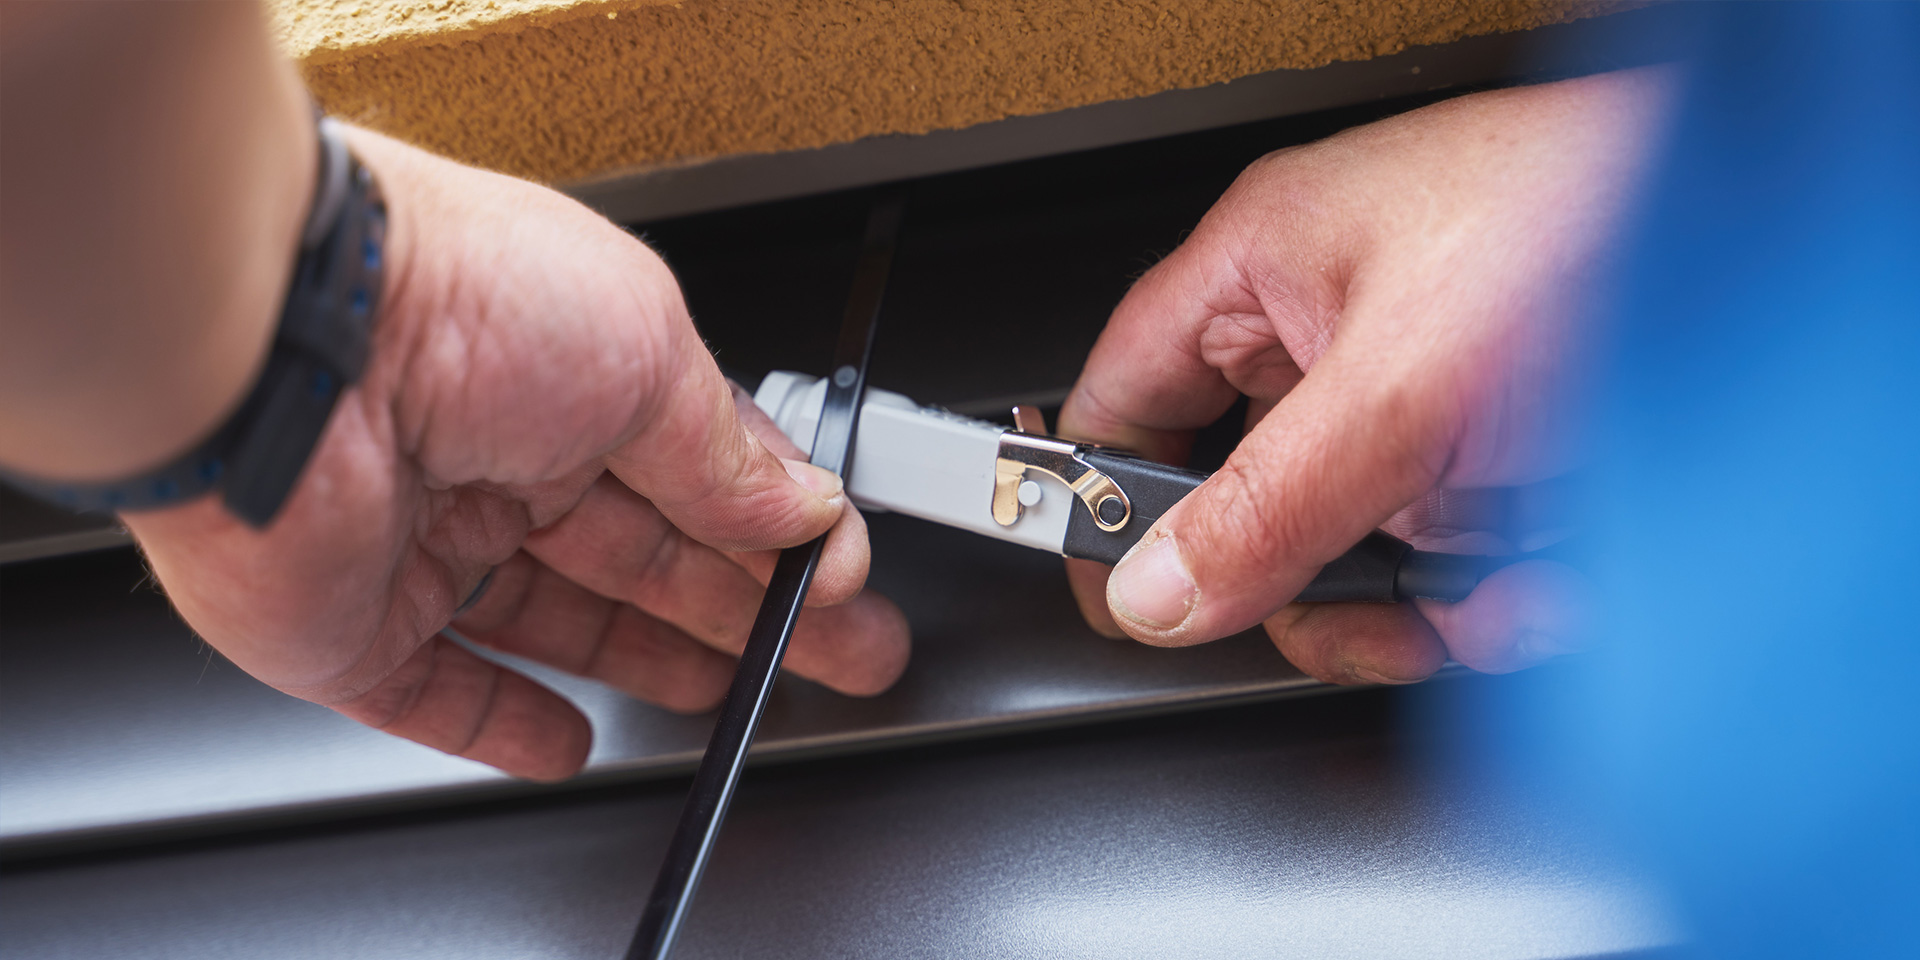
If you are having the wiring done by an electrician with no previous experience with external blinds, agree with them in advance that a soft CYSY 4C × 0.75 cable should run to the motor and not the hard CYKY 5C × 1.5 cable that electricians usually use. The latter is unwieldy and difficult to connect in the Hirschmann connector. During renovations, the soft cable is run directly from the socket.
Some electricians are used to routing cables for remote controlled motors, but this is unnecessary and expensive. Therefore, we recommend that you put your electrician in contact with a blinds dealer who knows what to do and how to do it before running the wires.
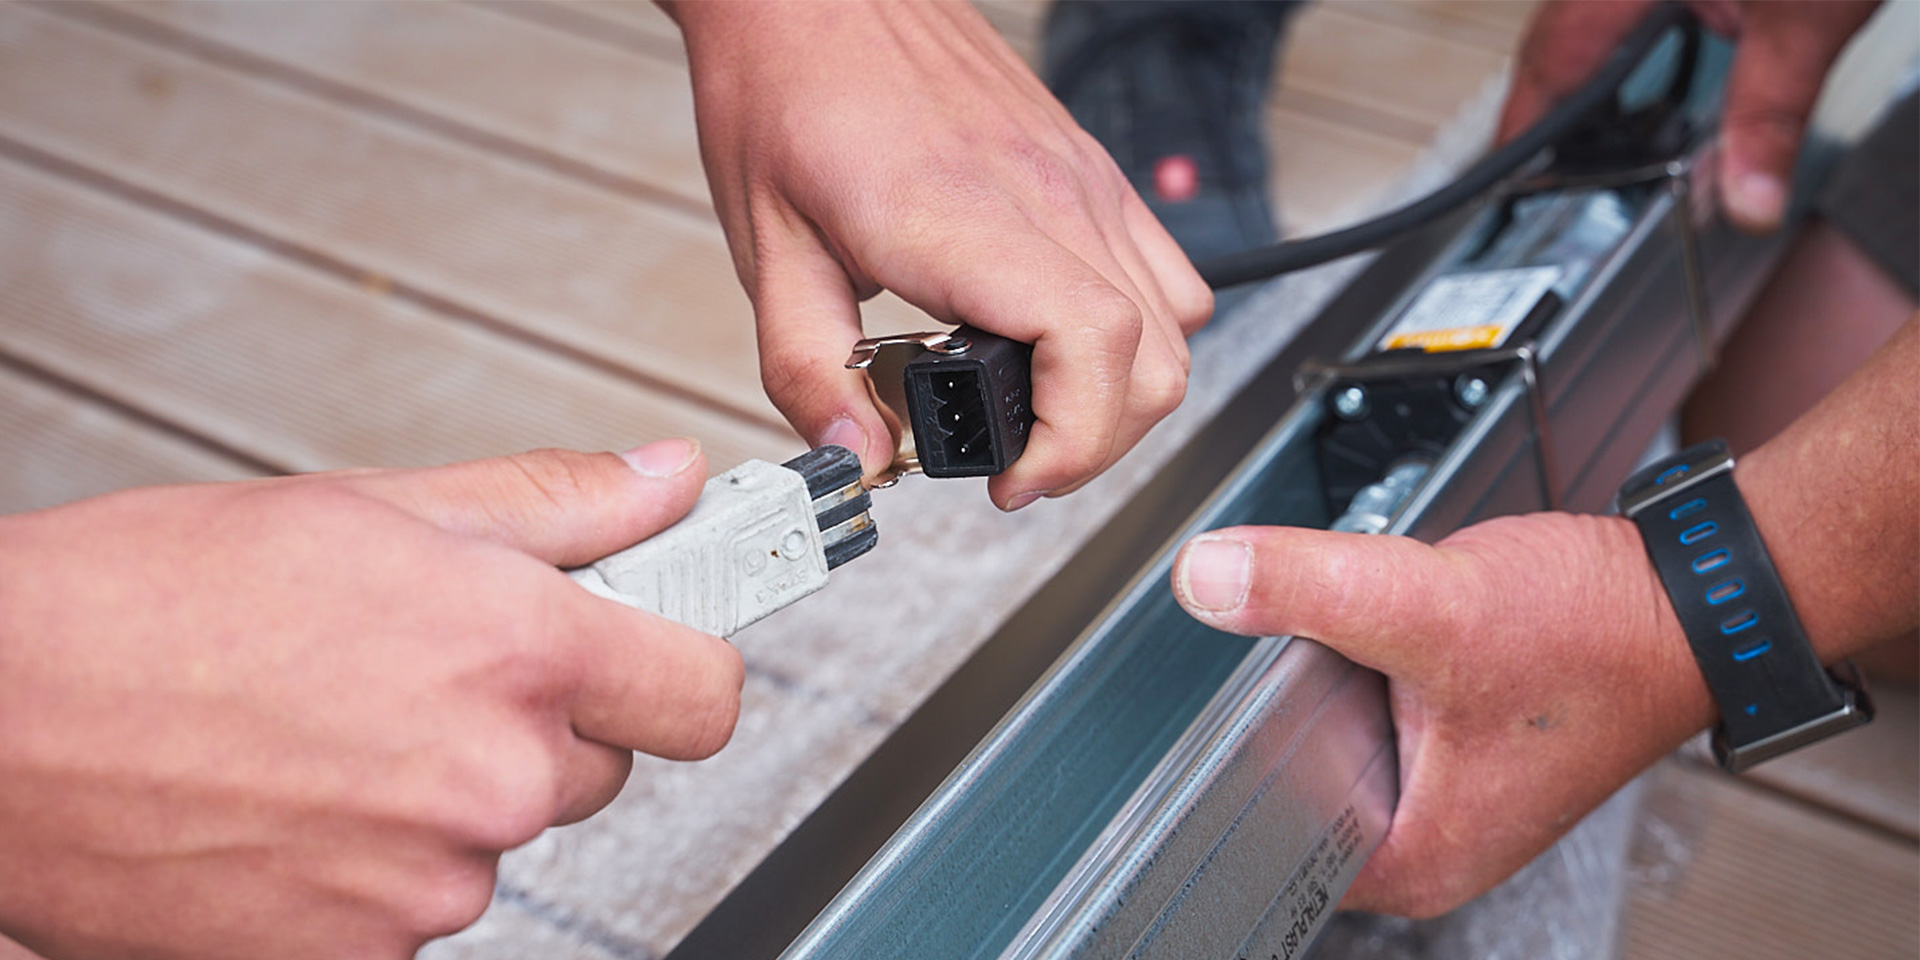
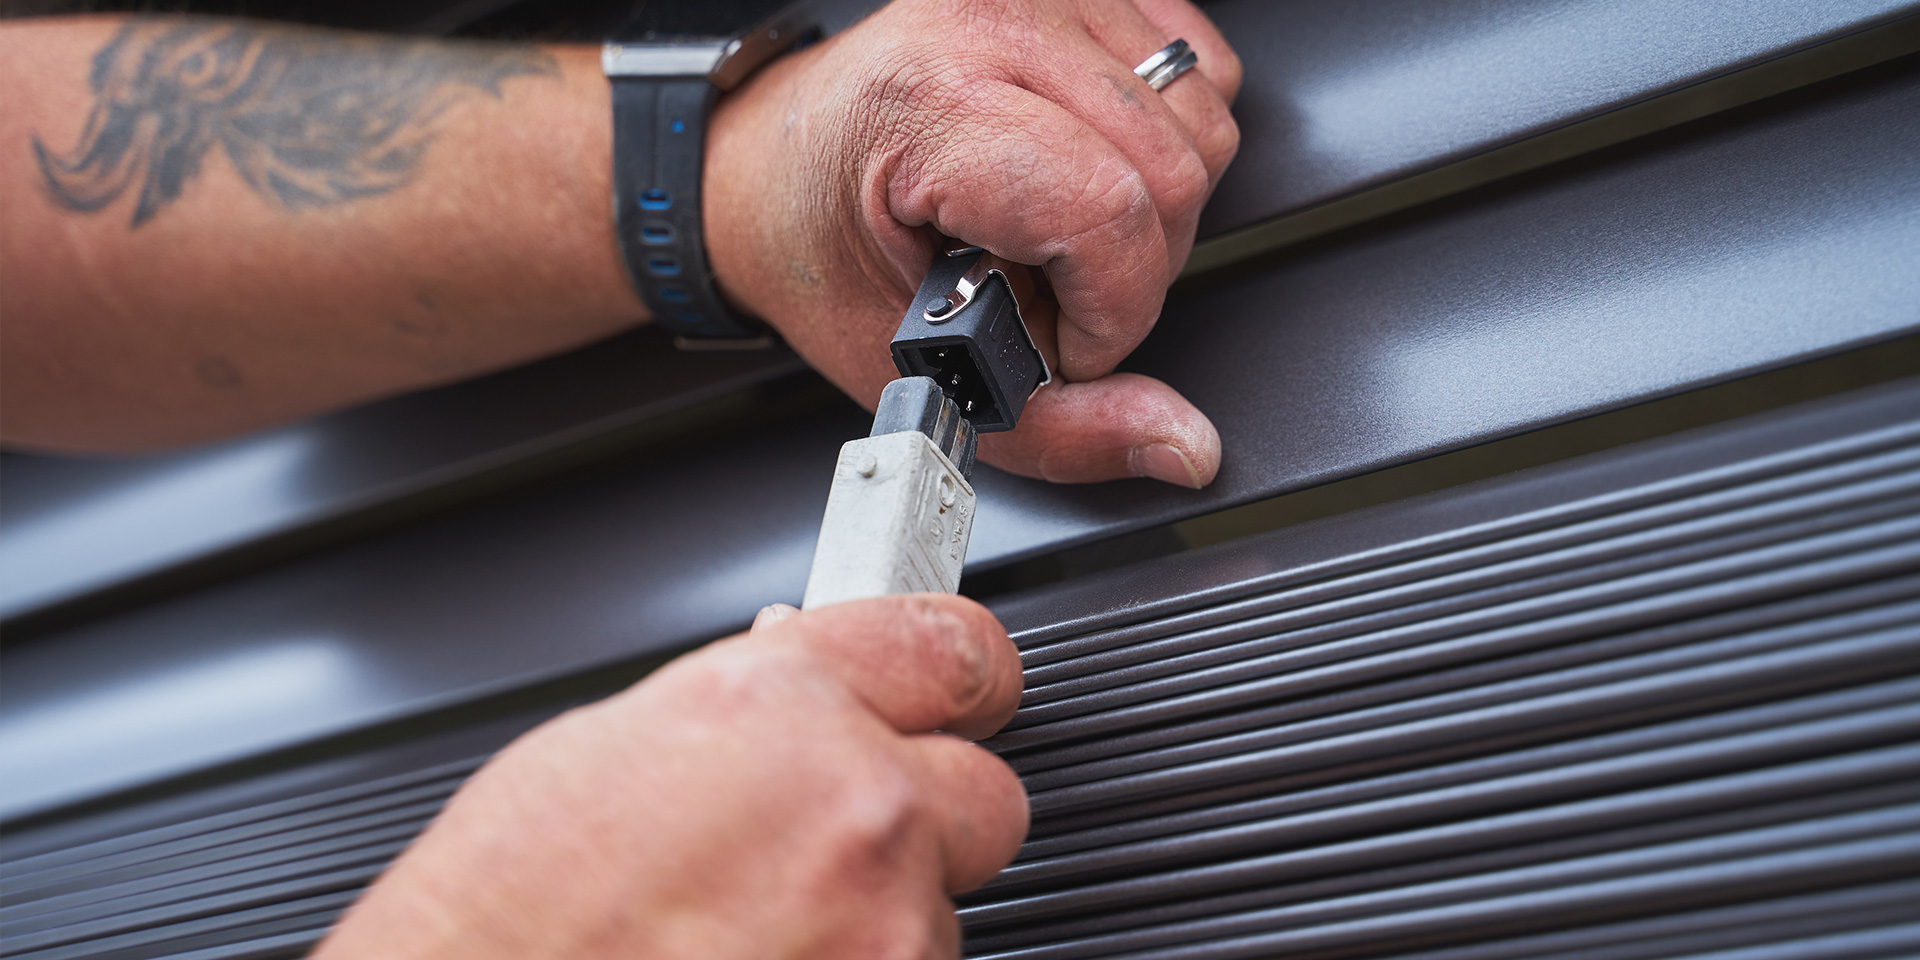
“The electrician is usually on site before us installers. Ideally, we’ll arrange with them to just loop the wiring outside. We then place the box on the blinds, drill a hole, place the loop in it and connect the soft cable that goes to the blinds,” says Jan Musil.
- There are usually no important pipes around the windows, but you still have to be careful not to hit heating or gas pipes when drilling through the window lining.
- When renovating older homes, also be careful about the safety of working with aluminium wiring. However, you don’t have to worry that the old wiring won’t make the electric motor move. Motors have an input of around 100 – 120 watts, which is about 20 times less than a modern kettle.
- Each motor has its own cable that is connected to the prepared wiring harness. The motor cable is usually 0.5 m long, so a sufficient length of the cable needs to be pulled into the box – generally half the window width.

Blinds connection stage
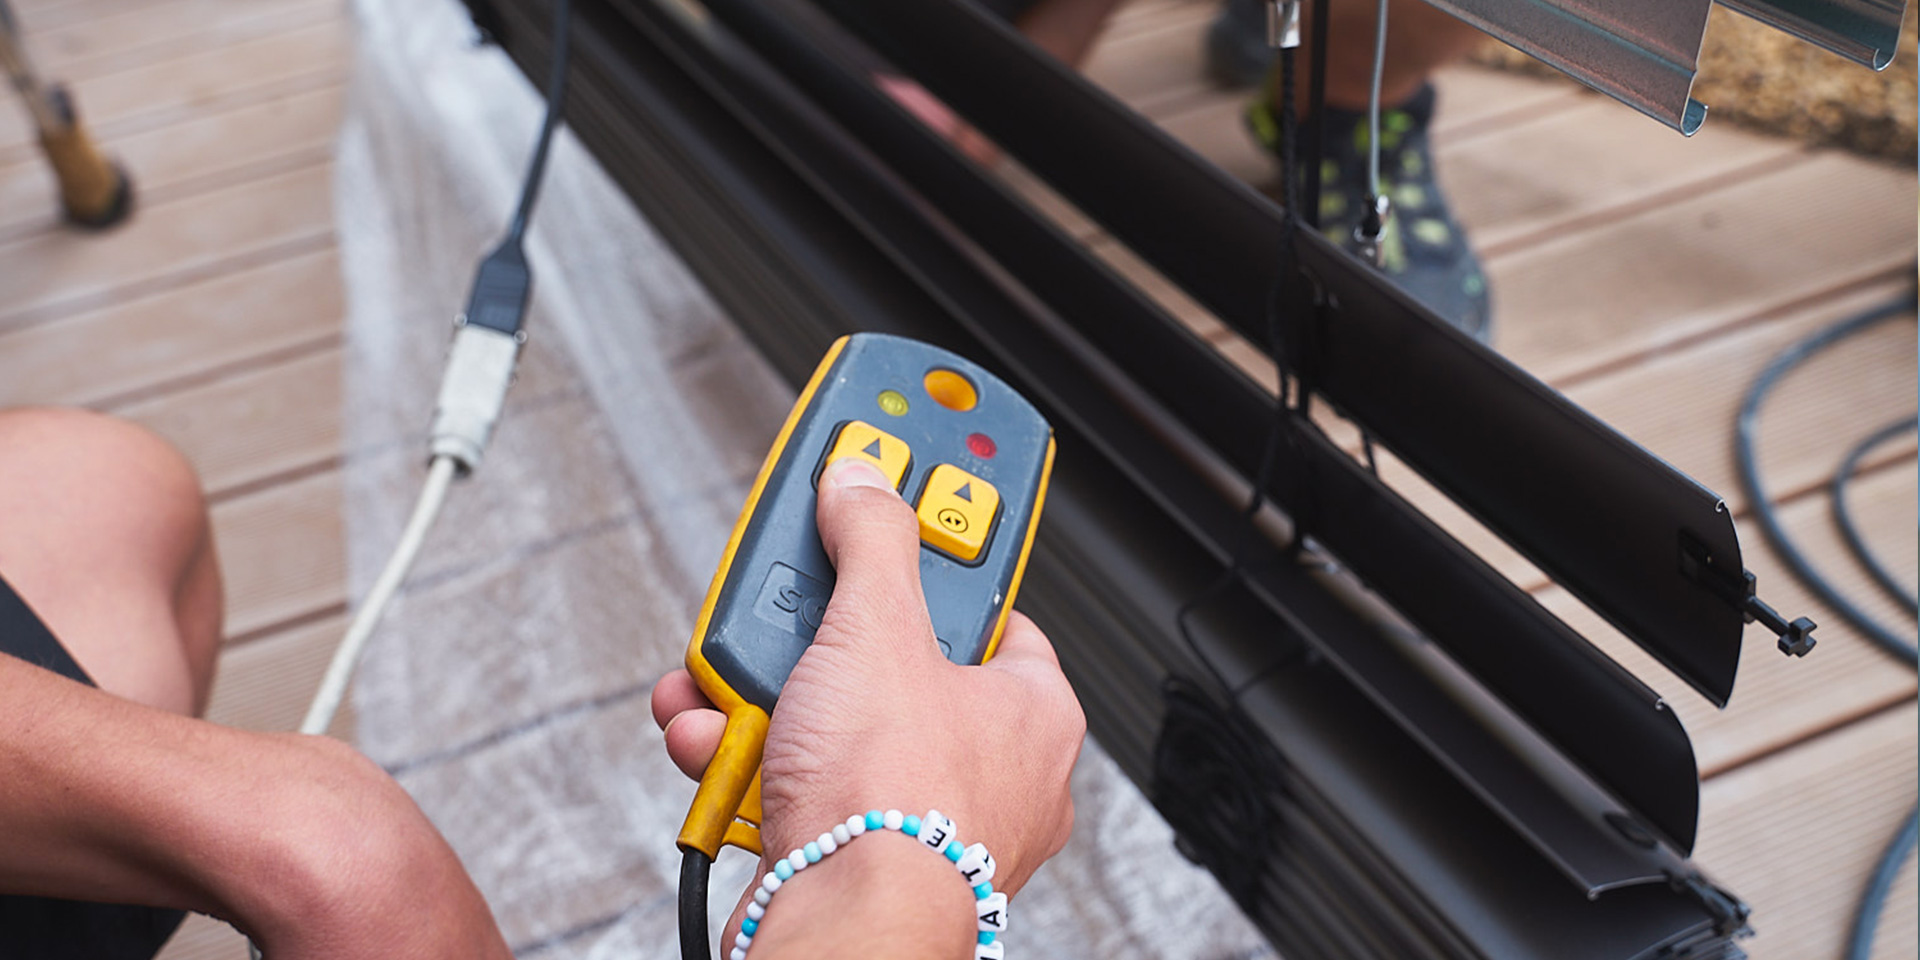
On site, the installers connect the motor cable to their installation controller. They test the motor with it during the installation of the blinds and adjust the end positions if necessary. The blinds are then connected to the prepared wiring – from now on, they are operated only from the interior.
In new buildings, a problem arises when the switchboard is not yet ready. The installers have no way to check whether everything is in order. You should therefore arrange for the blinds to be installed once the switchboard has been connected.
“Once the wiring is connected, we have no way of operating the blinds in the house without a working power supply. During installation, we always leave it in an intermediate position so that we can put our hands in the box and get to the motor,” explains Jan Musil.
He continues, “Safety is ensured by work procedures and proper earthing. The only thing that could go wrong (especially with hard CYKY 5C × 1.5 cables) is that a phase conductor could fall out in the connector. But the Hirschmann connector is easily accessible.”
Differences in wiring for screen roller shutters
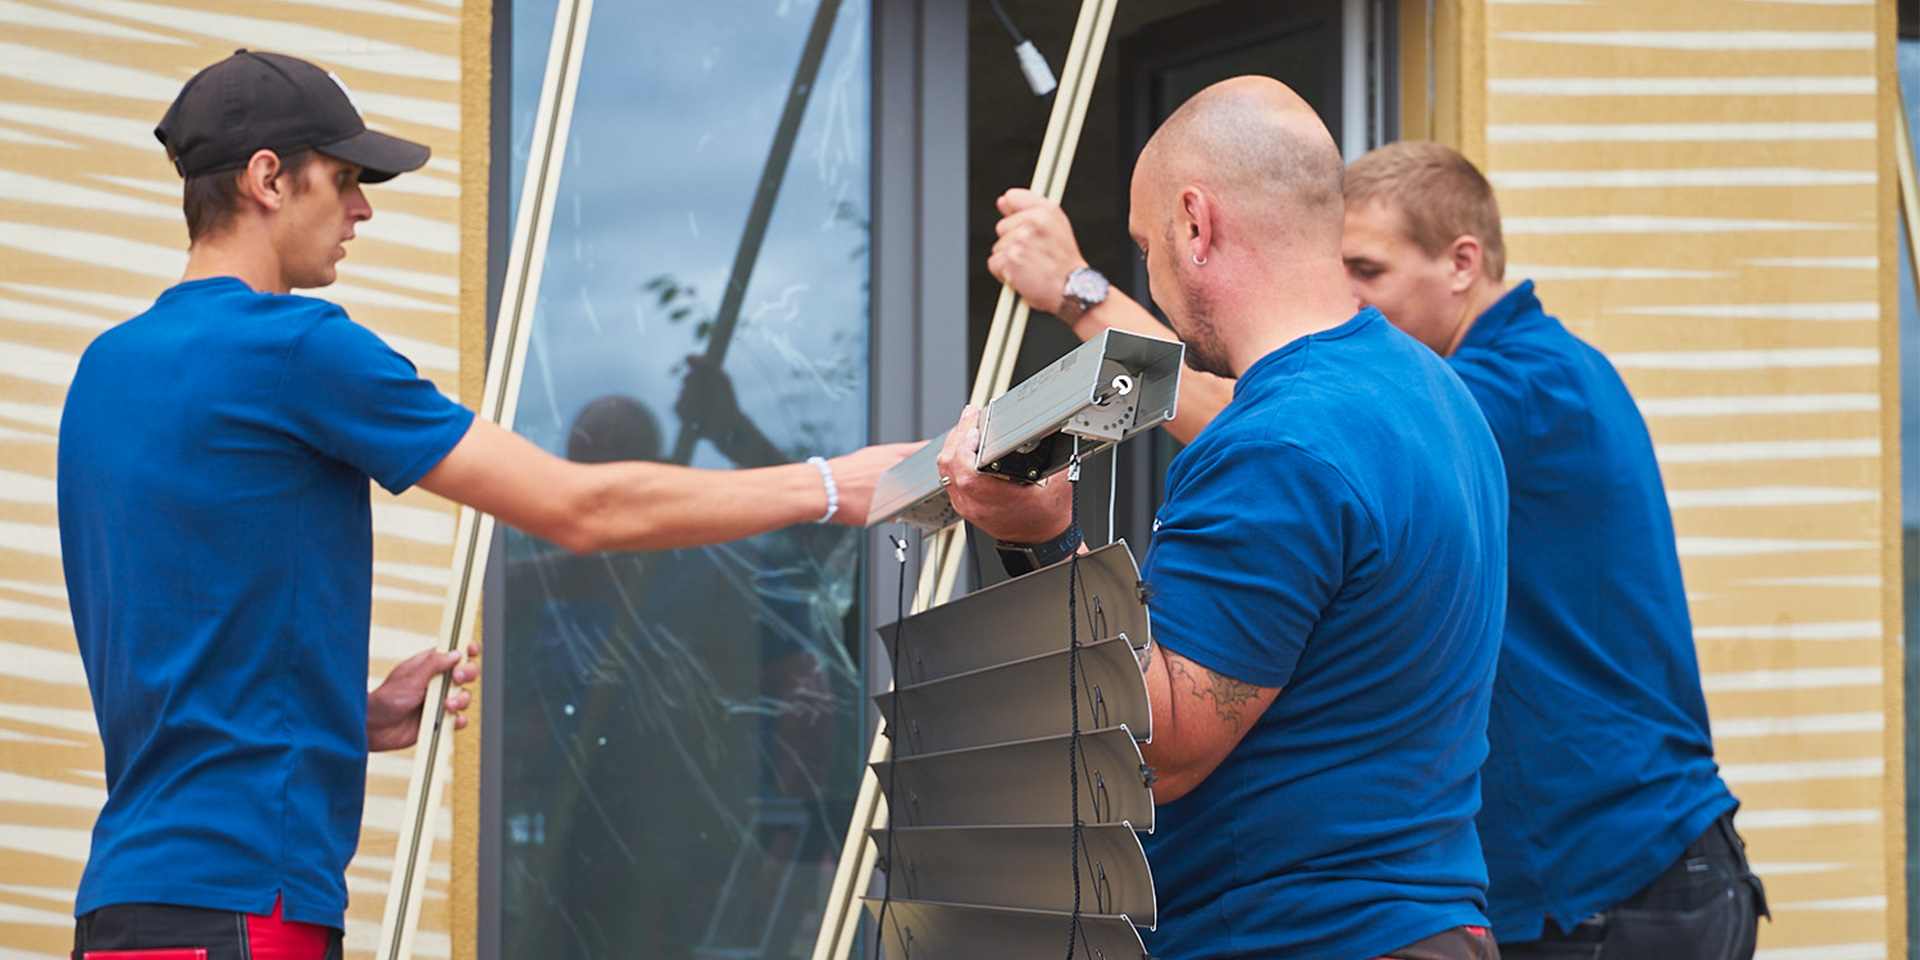
“The fundamental difference between blinds and screen roller shutters is access to the box for potential repairs. While in the case of blinds, the slats hang directly from the box, and when pulled down, they free up space to get to the motor and the shaft, screen roller shutters have the entire mechanism closed,” Musil explains.
Screen roller shutters have a tubular motor. The roller on which the roller shutter attaches is mounted on it, and the whole mechanism is hidden in the cartridge. Replacing the screen roller shutter motor therefore means that you have to pull out the whole mechanism and slide out the screen tube.
For this reason, there is no room for a Hirschmann connector on the roller shutter. The preparation for wiring of screen roller shutters should therefore involve running a pliable conduit from the motor to the interior button – ideally at the top of the window lining. There it is connected to the cable from the power supply. With blinds, on the other hand, the cable is run from the room to the outside and connected to the motor cable in the box.
Do not do wiring by yourself
We do not recommend doing the electrical installation yourself, both because it is a demanding skill that requires experience and precision, but also because you need to comply with the Electrical Installation Decree. Always consult an electrician and a blinds dealer about what solution is ideal for you.